Create a Power Pages Customer Portal (Self Service Portal)
Creating a power pages customer portal is easier than you might think, thanks to the Power Platform and Microsoft Power Pages.
If you’re looking to enable your customers to access information, submit requests, or interact with your business in real-time, creating a power pages customer self service portal is the perfect solution.
Power Pages offers a variety of templates that make building a self service portal simple and efficient. These templates are specifically designed to help you create an external website where customers can securely engage with your business data, submit inquiries, or view account information—all without needing to contact your team directly.
You don’t need any coding expertise to get started with a power pages customer portal. Power Pages is built to be user-friendly, allowing you to customize the design, layout, and user experience to match your brand.
With built-in templates as a foundation, you can quickly create a functional self service portal that enhances customer engagement and improves overall satisfaction.
In this guide, we’ll walk you through how to use Power Pages to create a power pages customer self service portal that’s tailored to your business needs. Let’s get started!
Looking for an easier way to create a secure client portal that integrates with the Microsoft ecosystem? Try Foyer today (free for 14-days, no commitment necessary), or contact sales for more info. |
|---|
How to Create a Power Pages Customer Portal [Step-by-Step]
Building a power pages customer self service portal is straightforward with the variety of templates available in Power Pages. These templates provide an excellent starting point, allowing you to create a secure, user-friendly portal without needing to start from scratch.
Here's how you can use Power Pages to set up your self service portal quickly:
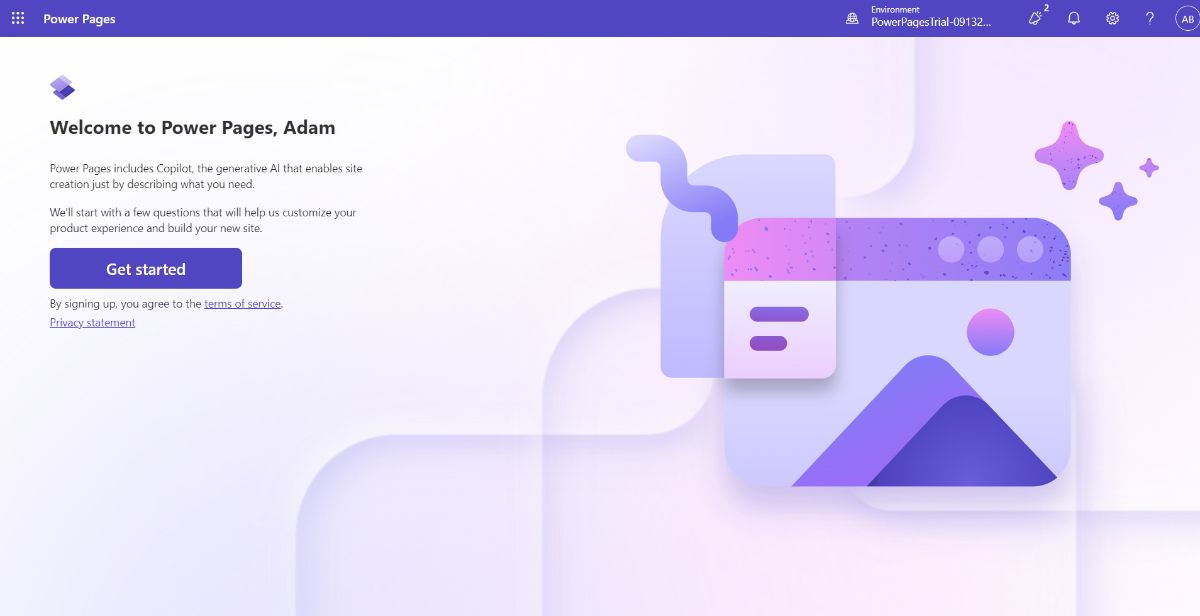
Step 1: Create a new Power Pages site
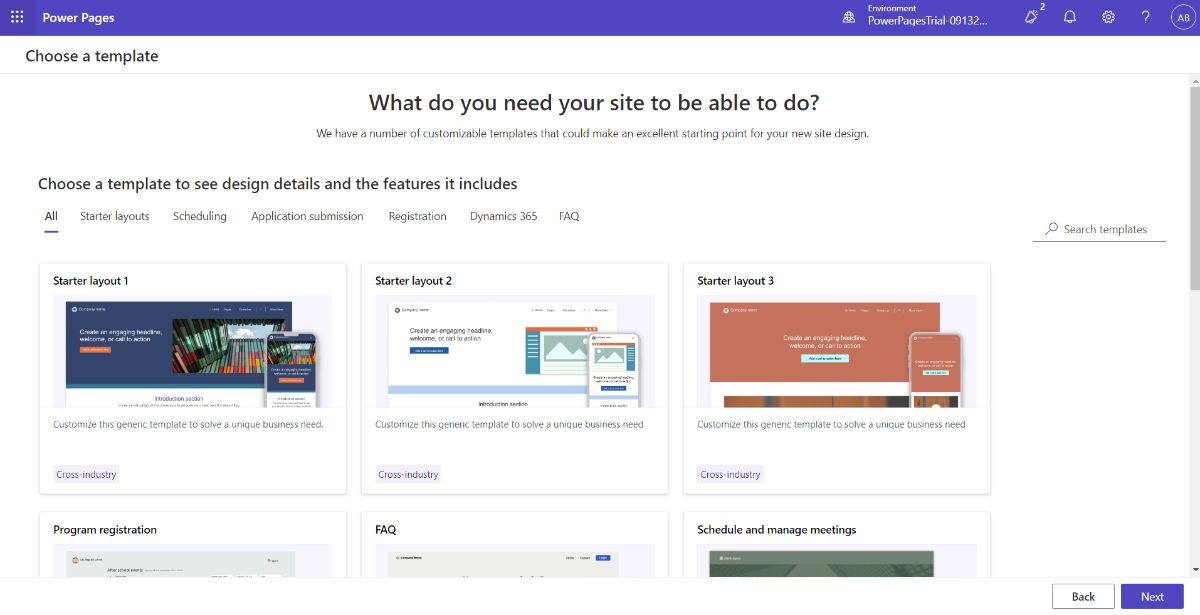
Start by opening Power Pages and navigating to the "Get Started" section. From here, you’ll have the option to create a new portal by selecting one of the available Dynamics 365 templates.
The best Dynamics 365 template for creating a power pages customer portal is the Customer portal for Dynamics 365 Supply Chain Management template.
- Go to Power Pages * Create * Start from template
- Choose a template that best fits your needs from the list of options (Dynamics 365 templates)
Looking for an easier way to create a secure client portal that integrates with the Microsoft ecosystem? Try Foyer today (free for 14-days, no commitment necessary), or contact sales for more info. |
|---|
Step 2: Set Up Data Connections with Microsoft Dataverse
Once you've selected a template, the next step is to connect your power pages customer portal to Microsoft Dataverse. Dataverse securely stores your business data—everything from customer profiles to transactions—and makes it accessible within the portal.
- Confirm the connection to Microsoft Dataverse
- Ensure that your portal is linked to the appropriate tables (e.g., customer data, service requests)
- Modify the table settings to display the exact data you want your customers to access
Make sure to update all existing forms or tables from the template (e.g. client files, messages, order forms).
Step 3: Customize the Portal’s Design and Layout
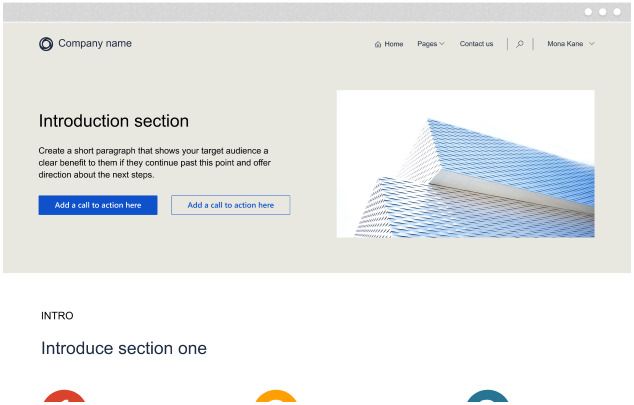
Now that your data connections are in place, it's time to customize your power pages customer self service portal. Power Pages provides an intuitive design studio where you can adjust the portal’s layout, color scheme, and branding to match your business.
- Use the design editor to modify the homepage, subpages, and navigation menus
- Add custom elements such as logos, banners, and instructional text
- Change fonts, colors, and themes to reflect your brand identity
Step 4: Add Custom Features for Customer Interaction
Power Pages templates offer built-in features, but you can expand functionality by integrating custom forms, workflows, and interactive tools. For instance, you might want to let customers check order statuses, submit inquiries, or upload documents directly from the portal.
- Use Power Apps to create custom forms (e.g., feedback, appointment booking)
- Integrate Power Automate workflows to send automated email confirmations, notifications, or updates when a customer interacts with the portal
Step 5: Publish and Test Your Portal
Once you're happy with the layout and functionality of your self service portal, it’s time to publish. Power Pages simplifies the publishing process so you can make your portal live in just a few clicks.
- Navigate to Settings * Publish
- Test the portal to ensure data syncing, customer interactions, and workflows are functioning correctly
- Make any final adjustments before launching to your users
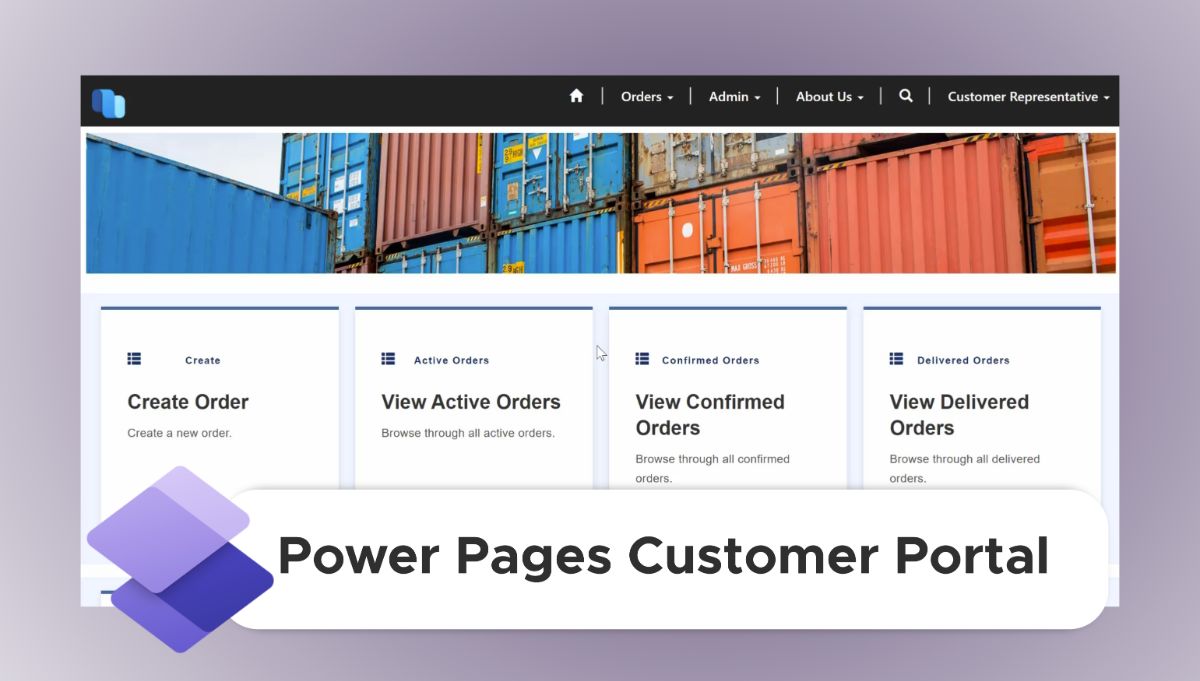
By following these steps, you’ll have a fully functional power pages customer portal that enhances customer engagement, improves service efficiency, and allows clients to access key information anytime, anywhere.
Looking for an easier way to create a secure client portal that integrates with the Microsoft ecosystem? Try Foyer today (free for 14-days, no commitment necessary), or contact sales for more info. |
|---|
Using the Power Platform with Your Power Pages Customer Portal
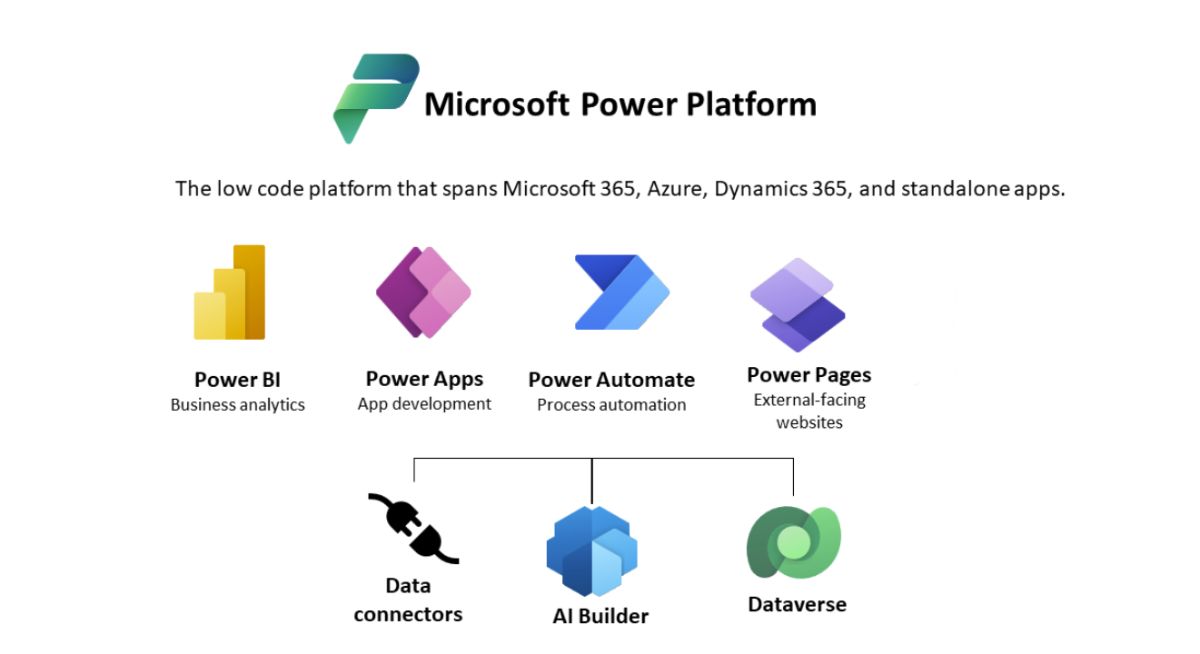
Once you have a power pages customer portal up and running, you can unlock its full potential by using the Microsoft Power Platform.
With tools like Power Apps, Power Automate, and Dataverse, you can streamline processes, automate workflows, and provide a more personalized experience for your users.
These tools not only enhance the functionality of your portal but also help your business operate more efficiently by automating manual tasks and integrating data from multiple sources.
Automate Data with Microsoft Dataverse
Dataverse is the engine that powers data management within your power pages customer self service portal. Whether you're storing customer profiles, support tickets, or product orders, Dataverse keeps your data organized and secure.
But it’s more than just a data storage solution—Dataverse allows you to connect your data with your custom apps in Power Apps and automate workflows in Power Automate.
For instance, imagine a scenario where customers update their contact details through the portal. With Dataverse, these updates can instantly reflect in your CRM system, ensuring your team always has the most current information.
If you're running a customer service portal, you can use Dataverse to pull data from various tables, like service requests, order histories, or user activity logs.
This can also help you automate follow-ups with customers, such as sending them service reminders or notifying them when an order is fulfilled, all directly from within the portal.
Dataverse also provides flexibility in building custom data structures unique to your organization.
Let’s say your self service portal supports a subscription-based service.
You can create custom tables for subscription plans, payment history, and renewals, allowing you to automatically notify customers when their plan is about to expire or flag missed payments for follow-up.
Looking for an easier way to create a secure client portal that integrates with the Microsoft ecosystem? Try Foyer today (free for 14-days, no commitment necessary), or contact sales for more info. |
|---|
Add Custom Workflows with Power Automate
Power Automate is where you can bring real automation into your power pages customer self service portal.
With just a few steps, you can create powerful workflows that save your team time and effort, reducing the need for manual intervention in repetitive tasks.
For example, if you run a customer support portal, you could automate the entire process of handling support tickets. When a customer submits a support request, Power Automate could assign the ticket to the appropriate team member, notify the customer that their request has been received, and trigger reminders if the ticket hasn't been addressed within a certain timeframe.
All of this happens behind the scenes, ensuring no task falls through the cracks.
In another use case, imagine running an event management portal where users register for events. When a user registers for an event, Power Automate could send them a confirmation email, add their details to a master event attendee list, and trigger follow-up reminders as the event date approaches.
This not only keeps your customers informed but also helps your team stay organized without needing to manually track registrations.
Simplify Customer Interactions with Power Apps
Power Apps provides endless possibilities for customizing how customers interact with your portal. With Power Apps, you can create personalized dashboards, build custom forms, and integrate external systems seamlessly into your self service portal.
For instance, if your portal handles financial services, you could create an app where users can view their account balance, submit requests for financial statements, or apply for loans directly within the portal.
These interactions can be automated, allowing data to flow smoothly between your portal and back-end systems, all while giving your customers a seamless user experience.
In a healthcare scenario, you could build a Power App that allows patients to schedule appointments, submit medical forms, or check the status of lab results.
With Power Apps, you can easily create forms that adapt to the type of user, ensuring that the portal experience is tailored to the individual, whether they are a new patient or an existing one.
Power Apps also makes it simple to create role-based access, so administrators, staff, and customers can have different experiences within the same portal.
For example, a staff member might have access to detailed reports, while a customer can only view their personal information or order history.
Visualize Data with Power BI
Embedding Power BI into your power pages customer portal can transform the way customers interact with their data.
Whether you’re managing a sales dashboard, providing analytics for your customers, or tracking internal KPIs, Power BI’s dynamic and interactive reports can be a game-changer.
Let’s say you run a consulting firm and want to share performance metrics with your clients. By embedding Power BI, you can create a client dashboard where each client can log in and view their specific data in real-time.
This might include project updates, budget tracking, and key performance indicators (KPIs), all presented in a visually engaging way.
In another example, if you manage a service-based company, Power BI can provide customers with insights into their usage patterns.
For instance, if you’re running a subscription service, customers could log in to see a breakdown of how they’ve used the service over time, get suggestions based on their data, or receive personalized recommendations.
Power BI integrates seamlessly with the Power Platform, so whether your customers are accessing these reports from their desktop or mobile devices, they’ll have access to up-to-date insights wherever they are.
Looking for an easier way to create a secure client portal that integrates with the Microsoft ecosystem? Try Foyer today (free for 14-days, no commitment necessary), or contact sales for more info. |
|---|
Conclusion
Building a power pages customer portal with the Power Platform offers a flexible, scalable way to enhance your self service workflows.
By leveraging tools like Power Apps, Power Automate, and Dataverse, you can create a fully customized self service portal that automates workflows, securely manages data, and provides dynamic user experiences.
Whether you’re looking to offer personalized services, or integrate powerful data visualizations, Power Pages gives you the foundation to build a portal that meets your business needs.
Thanks for reading! If you have any questions or feedback, send a comment below.