User Management

Introduction
Before starting this guide, we suggest you complete the onboarding guide first. We will learn all about managing your clients and staff after you have onboarded some of your employees and clients.
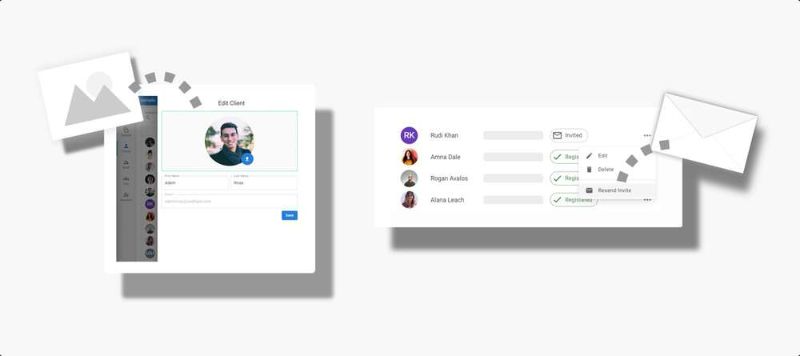
This guide covers:
- Update staff and client information
- Resending invite emails
- Delete staff and client accounts
Editing Client Accounts
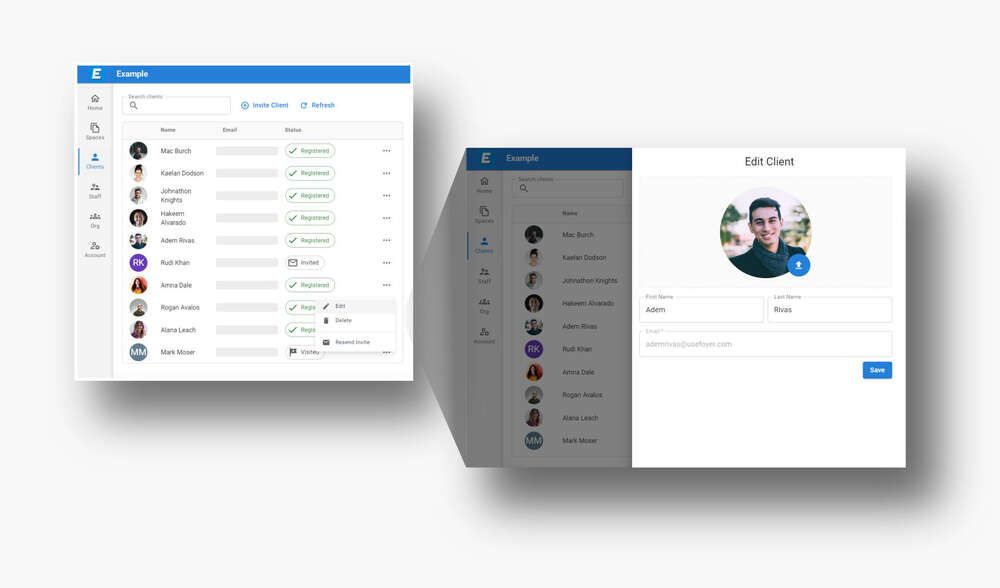
To edit client account details, first be sure to be logged in as either a staff or admin account. On the left you will see a drawer that contains items such as "Home", "Spaces" and most importantly "Clients". Click on the "Clients" item, and you will be brought to your client's table. Here you can see all the clients that have been invited to your organization. Clicking any item will open a drawer that shows extra information about the client. You may also click the 3 dots on any entry in the table and click "Edit" to edit the details of any client.
The client edit drawer allows you to edit two details of your clients:
- Name (First and Last)
- Profile Picture
Notice how you cannot change any client's email address. This is because a client's email address is a critical part of their account. If you would like to change a client's email address, you must delete the client, and then re-invite them using a different email.
You may drag and drop an image from your computer (PNG or JPG formats) to the client's profile picture to update their image. Just be sure to click "Save" when you are done. Any changes to the client's account will be reflected for them after they log-in again. The changes will be reflected immediately for your account when you click "Save".
Deleting Accounts
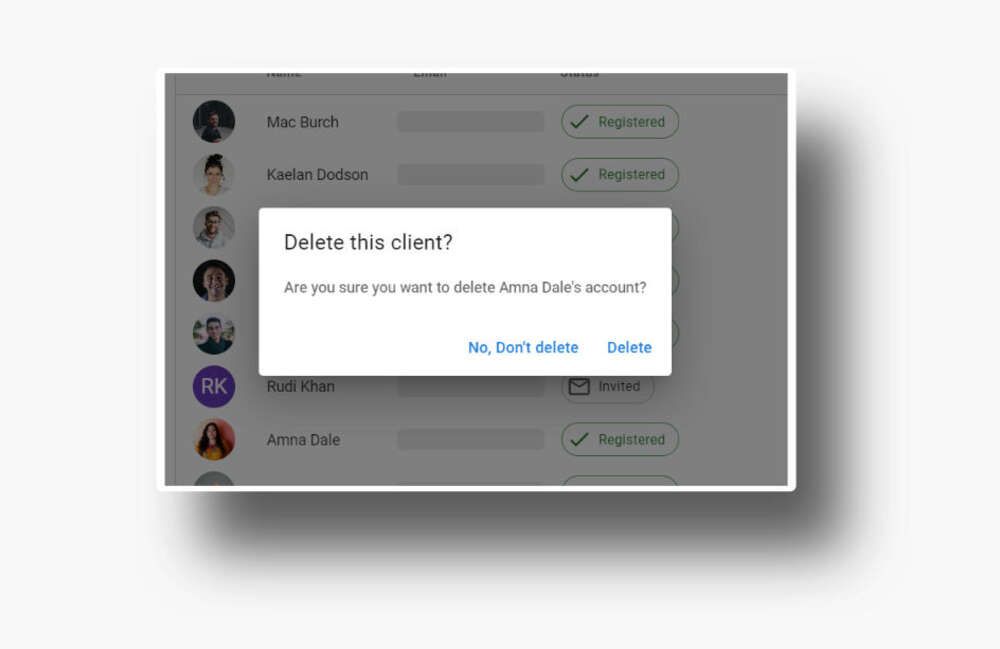
You may also delete client accounts. This can be useful if you no longer do business with a client, if you accidentially added the wrong client, or if you would like to update a client's email address. To delete an account click the 3 dots on their client table entry. Click the "Delete" button that appears in the drop down menu. You will be asked to verify who you are deleting, and once complete, that client will be removed from your organization. Clients who have been removed are no longer able to login or access any files that have been shared.
Administrator accounts have the power to delete staff accounts too. This can be done on the "Staff" page in a similar way to the "Clients" page. Deleting staff accounts can be useful when you are offboarding an employee, accidentially sent an invitation to the wrong email address, or if an employee changes their email address.
Resend Invites
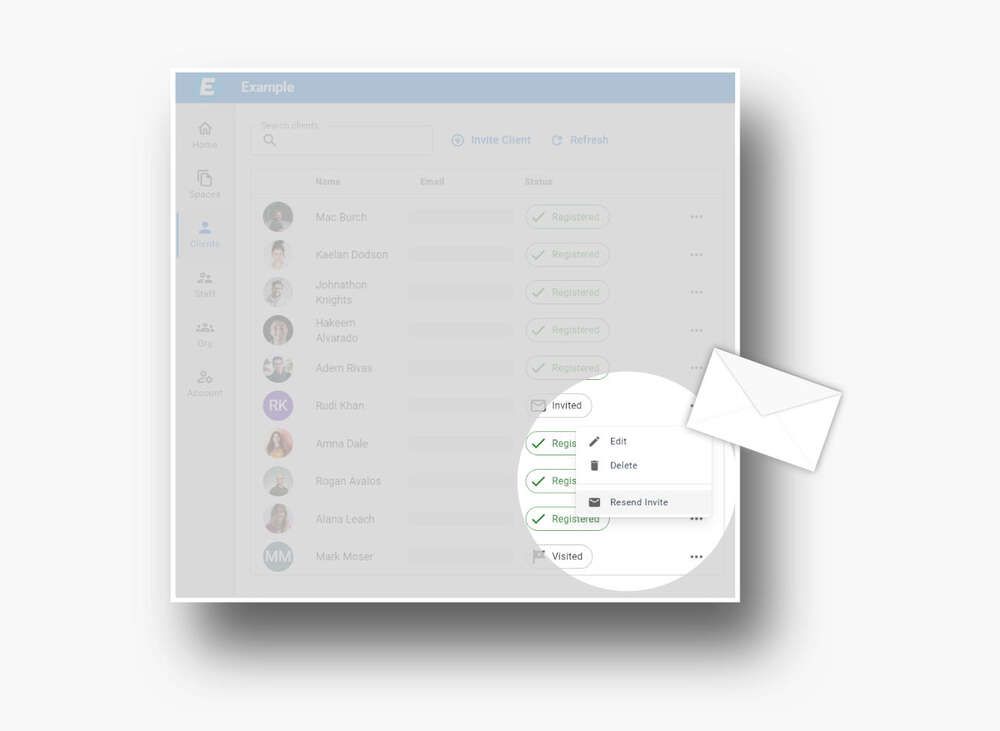
Sometimes emails get lost. And that's OK, because Foyer lets you resend your invitations. To resend an invite to a client, click the 3 dots on their entry in the client table, and click "Resend Invite". The onboarding guide has more information on how to track your client's onboarding process.
You can resend invites for staff too. To resend a staff invite, do the same steps on the "Staff" page. Only admin accounts are allowed to do manage staff accounts. Invites are sent immediately, and you a free to send new invites as many times as you need.
Editing Staff Accounts
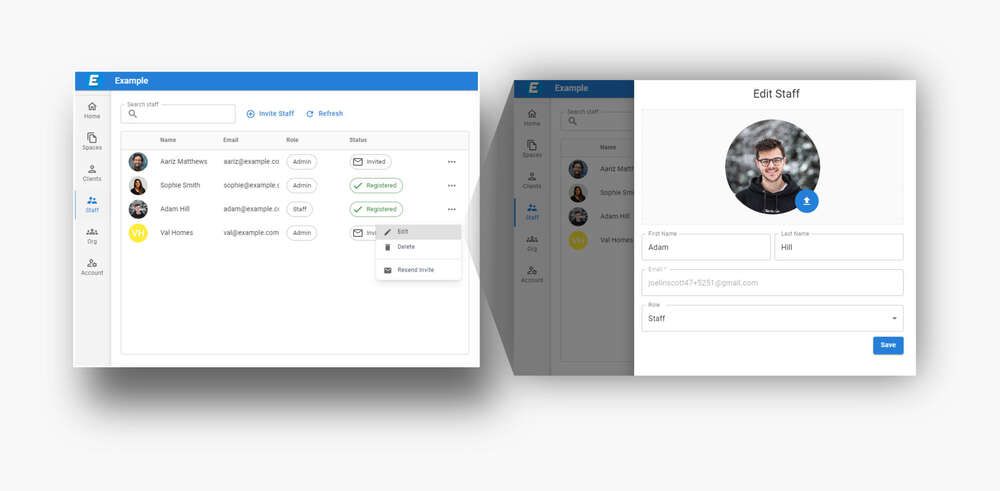
Just like Client accounts, you can edit Staff accounts. However, it can only be done with an administrator account in your organization. Start on the "Staff" page, and click the 3 dots on any staff's entry and click "Edit". You will be presented with the staff's details and you may edit the profile picture, first and last name, and role.
The role of a staff is how you can have some users have more power than others. There are two values for the staff's role: Staff and Admin. Staff are able to manage client accounts, while admins are able to manage both clients and staff. This is useful if you delegate some users to be managers of your Foyer organization. It prevents mistakes from staff users who may accidentially alter critical parts of the organization.
Remember you must click "Save" before any changes to the staff are propagated. Your changes will be in effect for all users within one day, or whenever a user logs out and back in again.
Conclusion
How will you use this information to make your Foyer organization better? You may choose to delegate some users as staff accounts and others as admin accounts or maybe you'll use this to remind some clients of their invitation by resending their invites.
Have feedback for this guide? Tell us what you think using comment section below. Interested in upgrading your plan to Standard, Premium, or Enterprise? Check out the pricing page for more information. Thank you for choosing Foyer. We are excited to be a part of your business' success.


