Create an Outlook Client Portal (Step-By-Step)
Microsoft Outlook is an online email service that allows you to create and manage your email address. Email is a must have for every business as it plays a critical role in communicating to anyone or any business online. In this article, we'll discuss the relevance of Microsoft Outlook and how it could work as client portal software.
Before We Start: Consider Using a Dedicated Client Portal
The truth is, there's no seamless client portal solution within Outlook where you can manage and share files with your clients in a Microsoft client portal. The solutions we will cover here can work, but they are cumbersome for both you and your clients.
If you want a true client portal, Foyer is low cost and includes all the client portal features you'd need out of a client portal.
You can even try it out for free without a credit card. Onboarding to Foyer is quick (takes 1 minute) and their support will help you migrate any existing data you have.
Here's a list of some of Foyer's features:
- Secure file sharing with clients
- A secure messenger to send clients encrypted messages
- Email and desktop notifications for all portal activity
- Audit trails for every action (login, file download, file upload, etc...)
- Client multi-factor authentication (MFA/2FA) support
- Requesting e-signatures from clients
- Custom forms to collect specific client information
- Secure email via Microsoft Outlook
- An internal knowledge base builder to share internal business documents and trainings
- Desktop and mobile support
But, if you're set on using Outlook as a client portal, then read on! We will go over a few ways you can share files with your clients using just Dropbox.
Outlook Client Portal Features
Microsoft Outlook is great at sharing files and communicating with your clients with email. But Microsoft Outlook is first and foremost an email service, not a client portal, but there are different ways to stretch the use cases of your Microsoft account through Outlook as well as other Microsoft Services. If you're set on making your own client portal work with Outlook and Microsoft services, I highly recommend you check out our guide for how to Create a SharePoint Client Portal with Microsoft Power Pages.
Is an Outlook client portal the right tool for your business?
A Outlook client portal is great if you just need to send and receive files that are not sensitive and are willing to use multiple Microsoft Solutions to make it all work as a client portal. But if you're looking for a more streamlined and flexible solution, we recommend a proper client portal service.
A client portal service like Foyer will give you more options like: client login, secure messaging, custom forms, internal knowledge bases, e-signatures, and more.
How to Create a Client Portal
Foyer is client portal that has all the essential features your business needs to interact with clients from any industry. You'll get a client portal for: secure file sharing, encrypted messaging, an integration with DocuSign for e-signatures, secure email, and more in just minutes. All data is encrypted end-to-end, so you can be confident your business and your customer's data is safe.
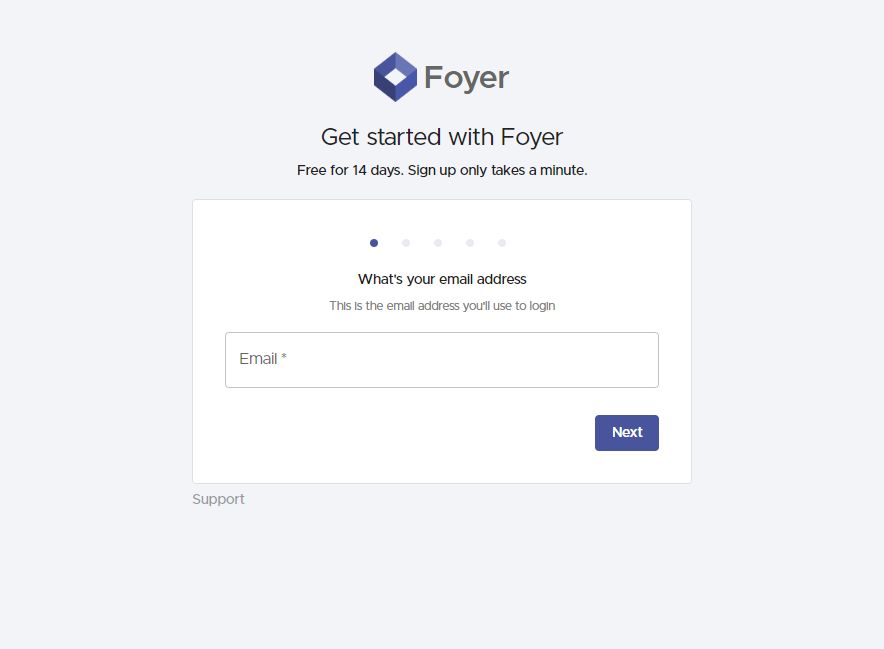
To set up your client portal visit the onboarding wizard, and enter your name, email, and business name. Your client portal will be created within just 1 minute (there's no commitment necessary).
You can access your client portal as a "subdomain" of Foyer like "example.usefoyer.com". During the onboarding process, you'll be able to choose which subdomain you want. If you need to setup Foyer as a subdomain of your own domain (e.g. "portal.yourbusiness.com"), we can set that up for you too just contact our Support team.
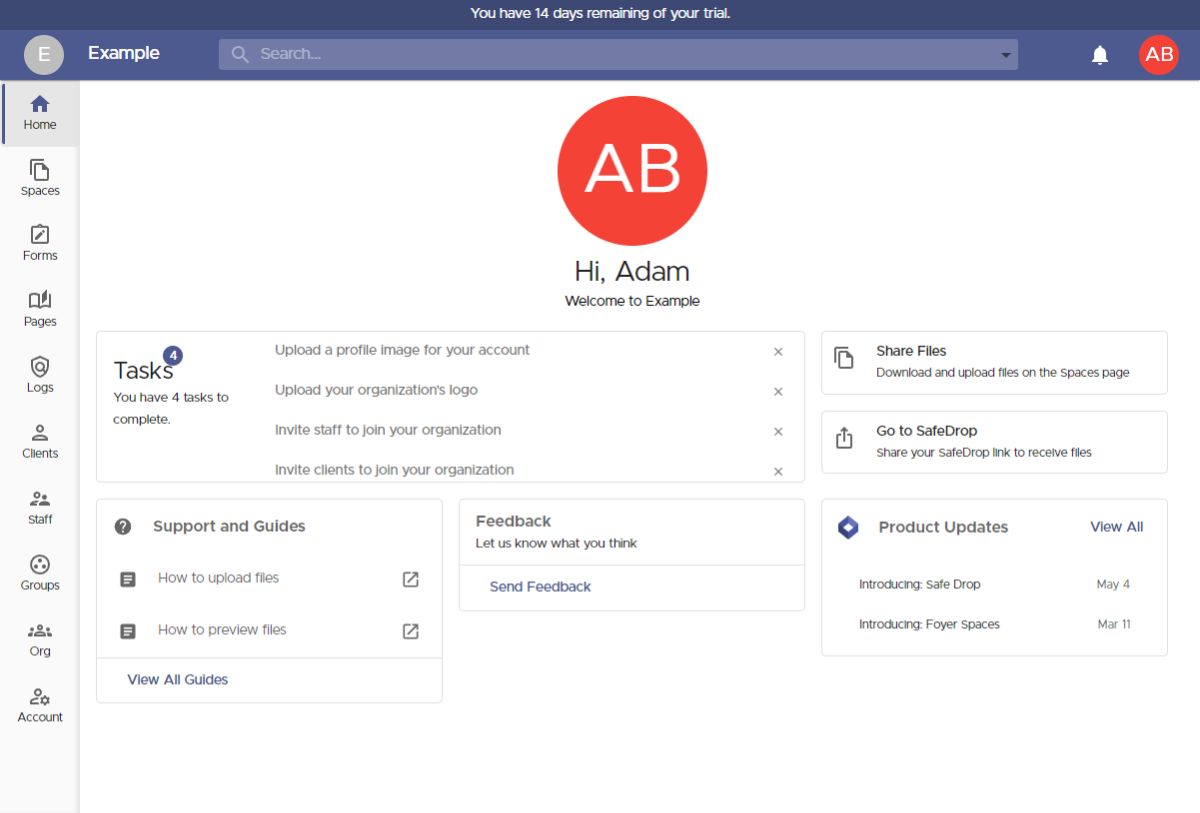
After the onboarding process completed, you'll be redirected to your customer portal's home page. On the left, you'll see a drawer where you can access and configure all the features of your portal (e.g. secure file sharing, custom forms, knowledge bases, etc...).
For now we are just going to cover how to share files, but later in the guide we will touch on some of the most essential features you have.
A common use case is simply sharing files with a business client. You can do this in two different ways with Foyer.
You can invite clients directly to Spaces (this will require you to know the client's email address).
Or you can send a link to your "SafeDrop" page, so your business clients can send you files without signing in.
I'll show you how to share files both ways! I'll start by showing you how to invite your clients directly to a Space.
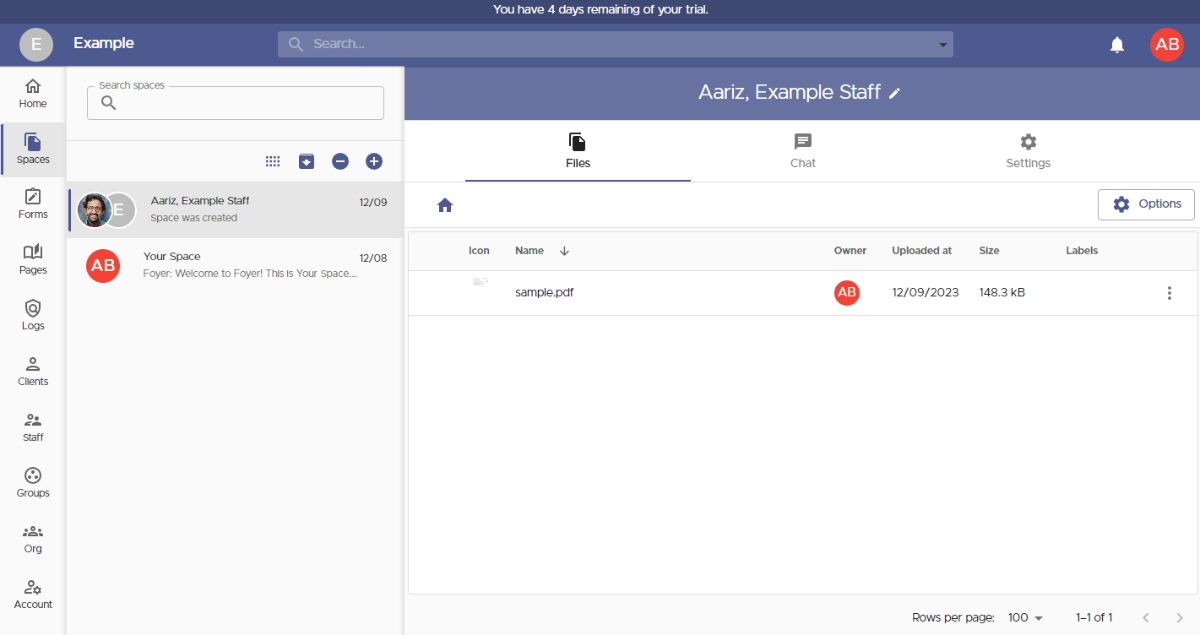
First, let's cover what exactly a "Space" is.
Spaces are secure places where you can share files and send secure messages with clients and your staff. All the files and messages within one Space are only visible by the members of the Space (just like a group chat in Teams, Slack, iMessage, etc...).
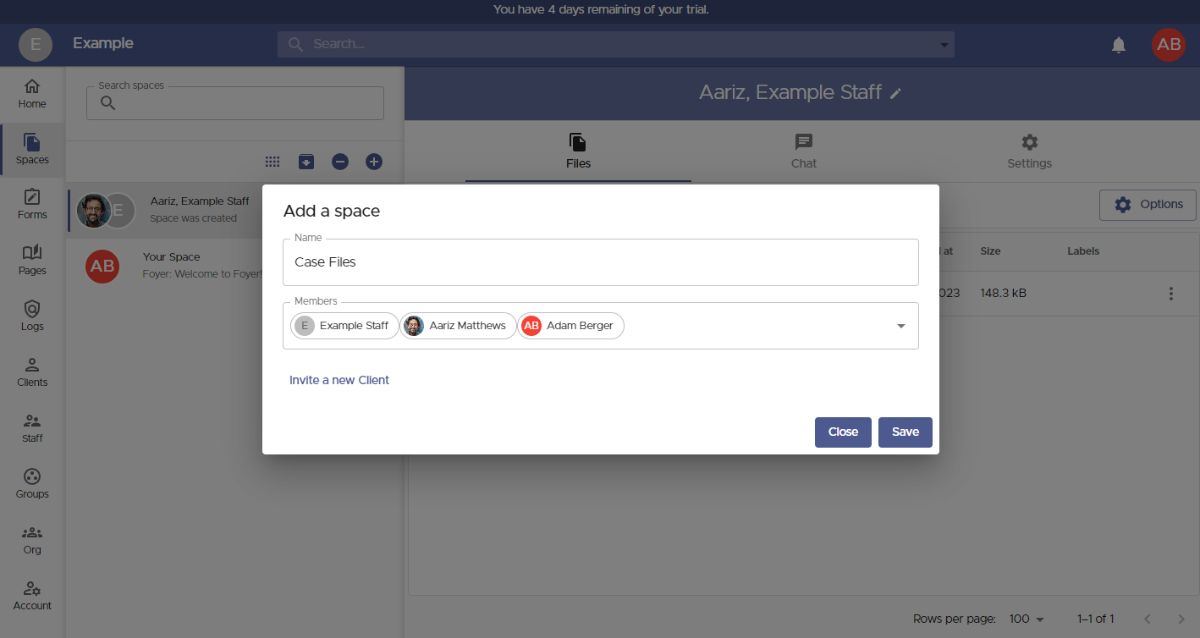
You can making a space by visiting the Spaces page (click on "Spaces" on the left drawer), then by clicking the "+" icon on the left.
When adding a new space, you'll see a dialog like the one below. You can set the name of the Space, and choose which members have access to any files or messages that will be shared.
You can also share spaces with "groups". Groups are a great way to organize your business contacts, so you can assign access to an entire external business all at once. We will cover that in the next step!
If you need to invite a new client, you can just click the "Invite a new Client" button.
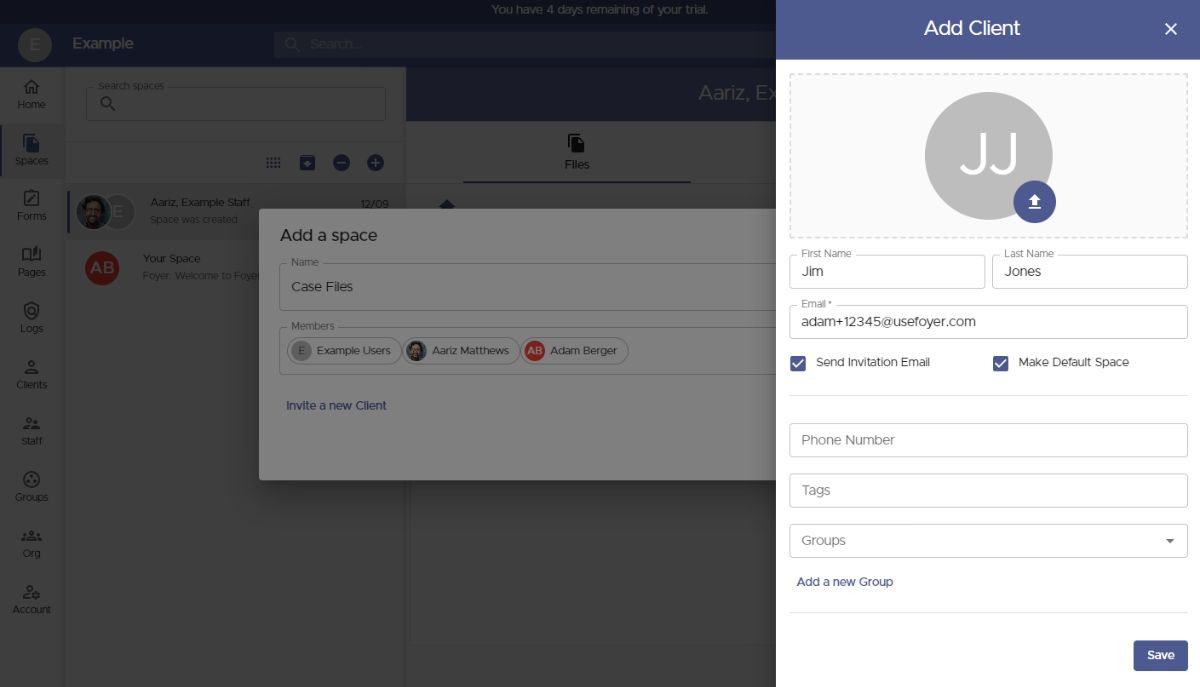
 All you need to invite a new client is their email. Other information like name, phone number, and profile picture are all optional (they are free to fill in those details themselves too)!
Before you save the client, there are two options you might want to check out that are great for use cases.
First, is tags. With tags, you can organize your clients via labels. You could use this to organize your clients by which industry they are in (e.g. "Law Firm", or "Healthcare").
Second, is groups. With groups, you can organize your business clients into what businesses they belong to. Using groups makes it easy to assign access to resources (e.g. Spaces, Pages) to entire businesses all at once, instead of needing to remember which client belongs to which business.
 Any new clients you add will automatically be added to the "Members" list, and they will have access to any files you make in your new Space.
To add a group, just start typing the name of a group, and click on the result. Groups are added to this list just like clients.
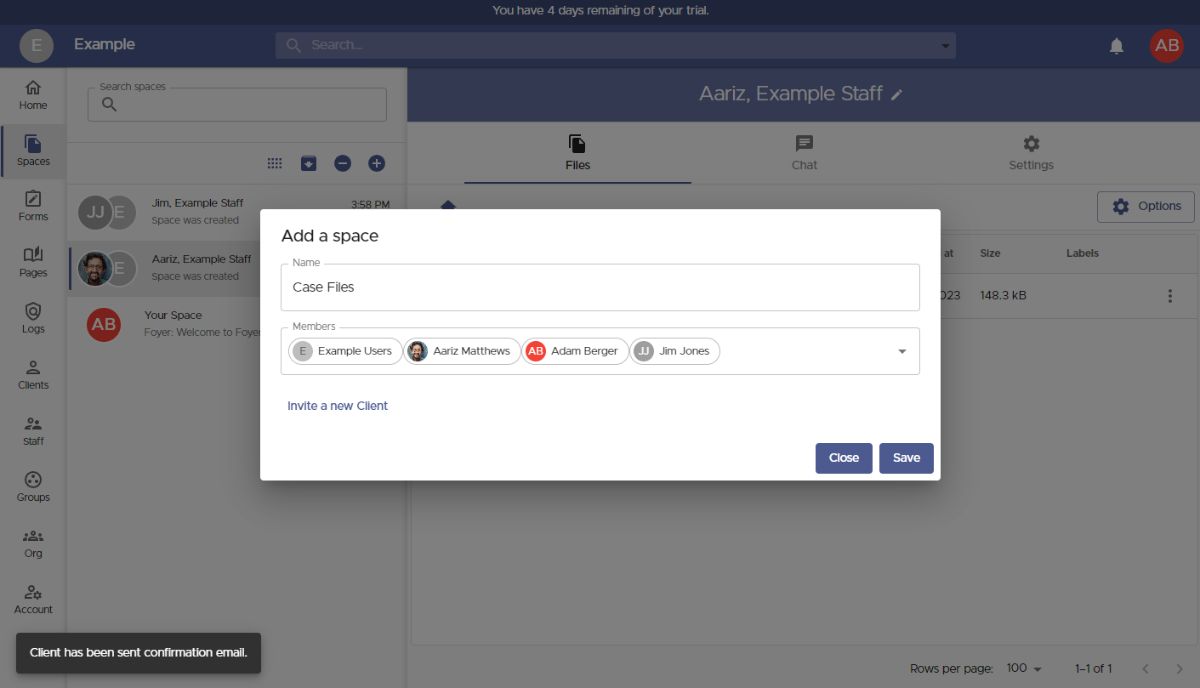
When you've added all the users and groups you need, click "Save", and you'll be directed to your new Space.
You can share files with everyone in the Space, by just dragging and dropping a file, or use the "Options" button. You can upload any files of any size, and any type. You can even upload entire folders!
To add or remove users or groups from the Space, visit the "Settings" tab, and edit the members list.

That covers the first option of sharing files with your client portal using "Spaces". Now let's talk about the second option, which is to allow business clients to send you files without needing to login.
In your Foyer client portal, this workflow is called SafeDrop.
Every organization has a SafeDrop portal included. You can find you link on the "Home" tab, or by visiting "example.usefoyer.com/upload" (replacing "example" with your org's subdomain name).
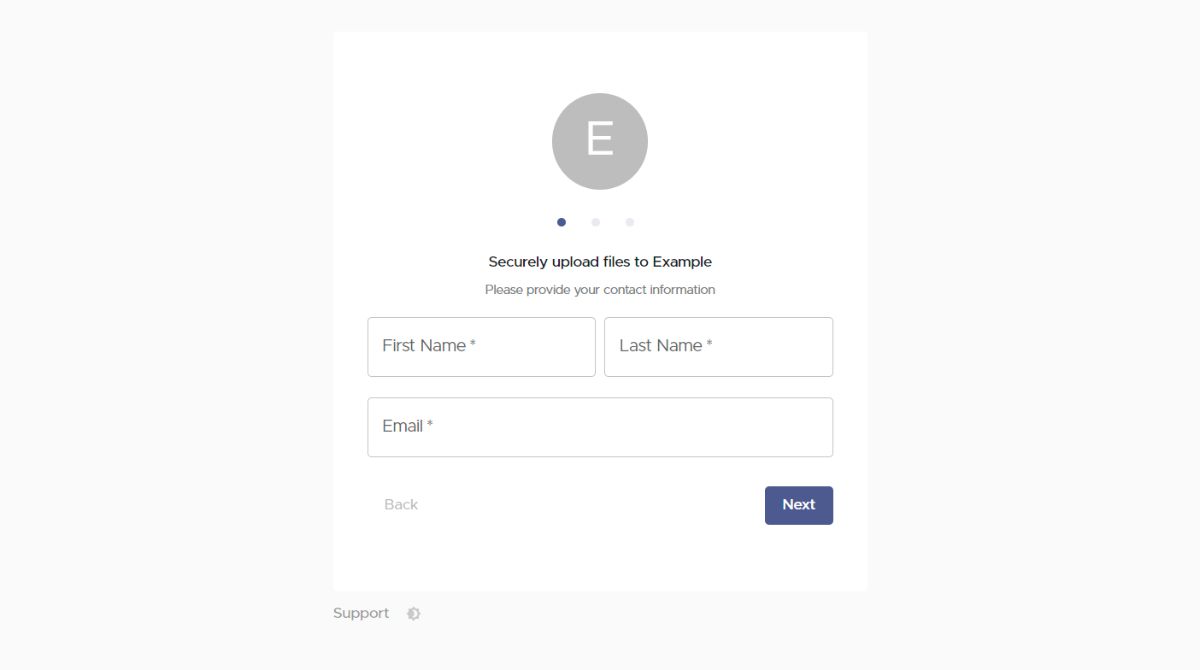
You can send your Foyer SafeDrop link to any client, and they can easily send you files from any device. They just have to enter their name, email, an optional message, and then any number of files.
Any files uploaded this way will show up on your Spaces page, and have a name like "SafeDrop from ...". Just like normal Spaces, you and the client will receive a notification for any files that are uploaded.
Anyone who has used your SafeDrop portal will show up as a "guest" client on your Clients page. To help manage your business contacts, you can click on any entry on the Clients page, and assign them to their relevant tag or groups.
Which Client Portal Is Right For Your Business?
There's no doubt that using Foyer to create a client portal is a more flexible option than a Outlook Client Portal. But if you're a heavy user of Microsoft solutions it could definitely work for you.
But, for many businesses, even though a Outlook client portal could work, it is not enough. You'll likely need a dedicated secure client portal.
Still comparing tools to use as a client portal for your organization? Check out our breakdown of the best client portal software to see how Foyer stacks up.
Hopefully, you found a solution here that works for your business. If not, contact us and we could provide some suggestions.
Frequently Asked Questions about Outlook Client Portals
Here are a few questions that get asked a lot about Outlook Client Portals.
Can you Make a Outlook Client Portal?
Yes, you can with some caveats. You can create a client portal that checks most of the boxes by utilizing your full Microsoft Account subscription with Sharepoint, Forms. and Powerpages. If using multiple solutions to make a single client portal is too much, we recommend looking into full fledged Client Portals.